


Geeky lighting info:
Another job done most recently was a set of advertising photos done for a local, high end, bespoke, furniture maker. Although the interior was a ‘set’ I lit it in a way I would light a normal interior. Although I light every interior a bit differently I have developed a few ‘go to’ techniques. In this shoot I had two different lighting approaches. One for day time and one for night. In the photograph below it was night outside so the lighting was going to be light coming from internal lighting fixtures. I achieved that look by creating pools of light in key areas of the frame. I will go into how I did that in an up-coming blog.

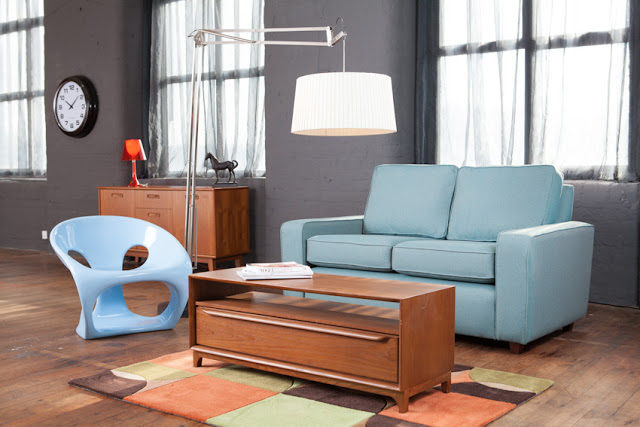
The same technique was applied here with a bit of the day time technique thrown in as it was dusk – half way between the two.
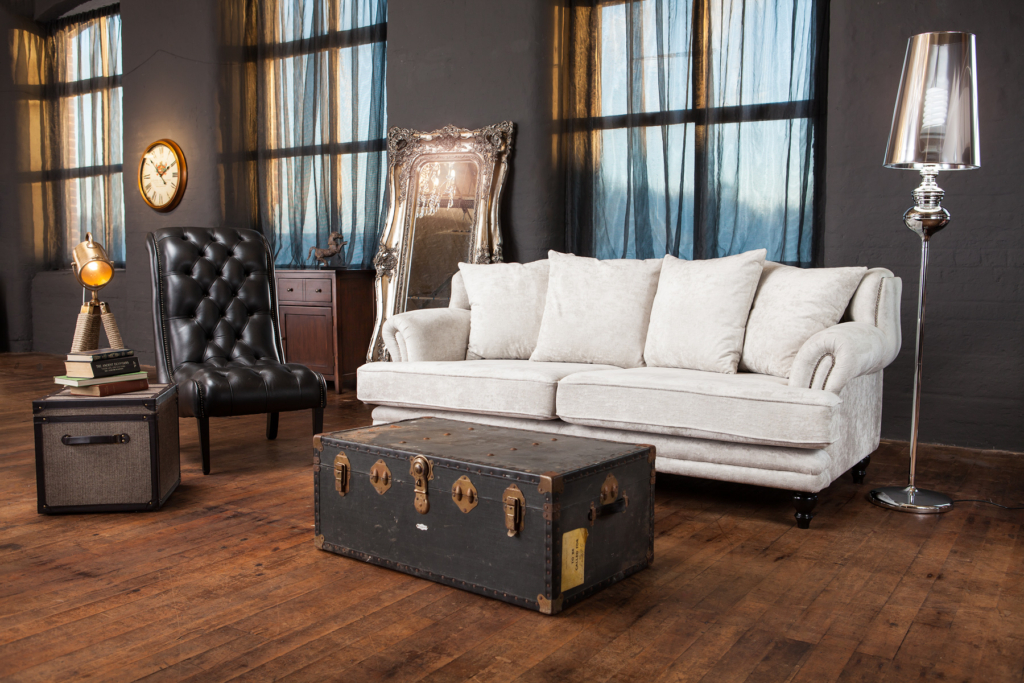
Here my day time technique was used which is what i am going to go into now:

With a day time photograph where the sunlight is streaming through the windows it will look plain wierd to have anything other than the sunlight coming through the windows as the main light source. So why light it? Well, if you attempt to get an exposure where there is minimal over-exposure inside the room this is roughly the exposure you will arrive at:

Here you can see that the exposure on the arms of the sofa and the left hand corner of the coffee table is bright but not over exposed. Obviously the windows are blown out but that is less important and doesn’t look unnatural. The reason the rest of the room is so under exposed is because there is not enough fill light. In a normal situation the light will come streaming through the windows and then bounce off the ceiling, floor and most of all the opposite wall. Due to the high dynamic range of the human eye this reflected fill light will look something like the first picture of this scene. Unfortunately at the best of times the difference between the direct light coming from the sun outside and level of illumination from reflected light of walls and ceilings is too much for a camera to cope with. Here the opposite wall was so far back that it didn’t help at all making things even worse. So the aim here is to ‘rebuild’ the fill. The nice thing about rebuilding the fill is I can decide what the quality of the light will be. Obviously the first thing about fill is it needs to be soft. Natural fill is the size of a wall so to look natural my light needs to be a large source. If you have read my previous blogs you will know I am a big fan of the large parabolic umbrella. In the pullback photo below you can see I have employed my 2 meter wide giant silver from Paul C Buff. Not only is this a large soft light source, I also have control over its direction due to its parabolic shape. Added to that is the ‘sparkly’ quality I get from its silver colour. It is like a natural soft fill with a bit of sparkle. It is my favourite key light for lighting the main part of my frame.

I found having it positioned quite far over to camera left gives the light a bit of shape on my scene. Below you can see the fill I am getting now with that light switched on. Notice the shadow between the two cushions on the sofa and on the right hand side of the arms? This is the ‘shape’ I am talking about. This is where my large umbrella can’t ‘see’ or shed light due to its position. Whilst I like the shape these shadows give to my scene they are too strong and my scene is still too shadowy. This will need to be fixed later.

Next I want to fix the left hand side of my frame which is still way too dark. For this I shoot a reflective umbrella which gives me a large but controlled light beam into a gauze as seen below. This gives me a large diffused light source that eliminates any hard shadows. This was just some gauze they had lying around that was used to make the furniture. I have a backdrop stands and some see-through linen curtains if need be.

I bring this light up till I get a nice balance on the left hand side of the frame – just below the exposure of the subject area where the coffee table and chairs are.

Next I need to address those heavy shadows I was speaking about before, on the right hand side of the sofa arms and the right hand part of the frame generally. For this I add a little more soft light to bring out those shadows. Two shoot through umbrellas camera right as you can see below do this job.

They are only there to lift the shadow not eliminate them so I adjust them by bringing them up gradually till I am happy.

Finally, I add a warm gridded speedlight on to the clock in the background for added interest, and tidy up some of the defects on the wall etc in photoshop. Here is the final image:

Here are the images in a row so it is clear what changes are applied with the different lights:

Key light – large silver umbrella:

Large diffused light in the background:

Two shoot through umbrellas camera right:
Gridded speedlight with half CTO on clock:

I always try to shoot tethered to a laptop so I can clearly see my frame. This helps a lot when making decisions about where light needs to go.
